
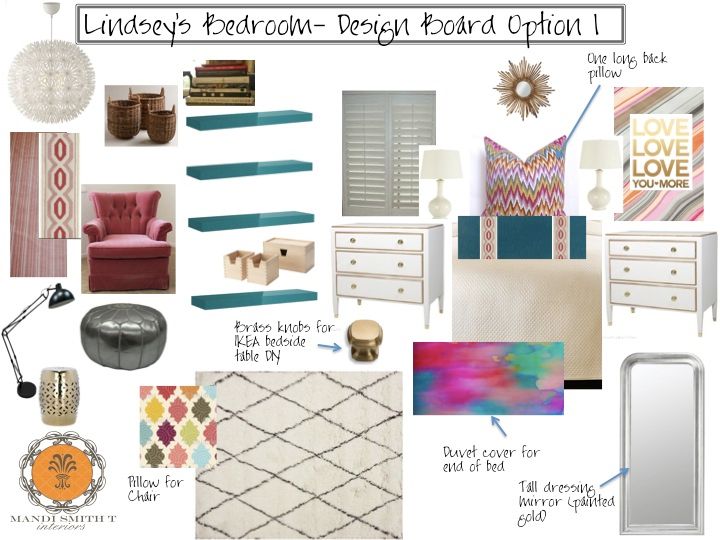
We are back to our Tween Bedroom makeover project today. When I last posted about this, I had outlined for you the new layout for the space and the design board. Click here for all the details.
Once we had a plan, we got busy. First, we re-arranged the room in the new layout to make sure we were happy with how the room would feel.

I always recommend doing this before purchasing any new pieces. It also gives you time to get used to the new space before making an expensive mistake. Around the same time, I snagged the 9 x 12 rug we used in the room from rugsusa.com. This website has some of the best sales I've ever seen.

During one of their major sales, I was able to get this rug for 70% off retail with free shipping. Honestly, with the money I saved on the rug, I was practicably able to furnish the rest of the room. The sales are just that good.
Insider Tip: they usually have one of these sales around Memorial Day, so go there now and find what you like so you can quickly pull the trigger when the sale begins. You would not believe how fast their inventory dwindles during one of these.
Once we had the rug, I focused on the bedside tables. The original design board included these beauties from Layla Grayce for $3,366.00 each.

Well, that was not in the budget for our tween makeover, so I decided to come up with a DIY version of the bedside chests. I started with the Koppang chest from IKEA.

These are a super popular chest for IKEA. In fact, on our first trip to Atlanta (which is the closest IKEA for us), they were out of stock. It actually worked out fine since we purchased so many other things we did not have room in the car for them! So, we planned a second trip and scored! I have to say both trips with my daughter were super fun. We talked the whole way, and after shopping had a fun lunch. Great girl time for sure. All was good until I opened the box to put them together . . .

Not for the faint of heart. BTW, I am sending out a quick apology if I have ever implied to any client that putting together IKEA furniture was easy! I am very sorry. Every screw, bolt and nut you see was used. In the end, I am so happy we did this DIY, but that was not the feeling in the middle of this project. When I snapped this picture, I was truly thinking, "What on earth was I thinking?!"

But we managed to complete both chests in an evening. Then, I hopped on line and ordered two sets of O'verlays for the fronts of the chests. One thing I love about this site, is you can shop by the specific IKEA furniture piece. They offer 1/8" and 1/4" thick overlays, and I opted for the thicker 1/4". Once in hand, I went to work spray painting them to match the antique brass knobs.
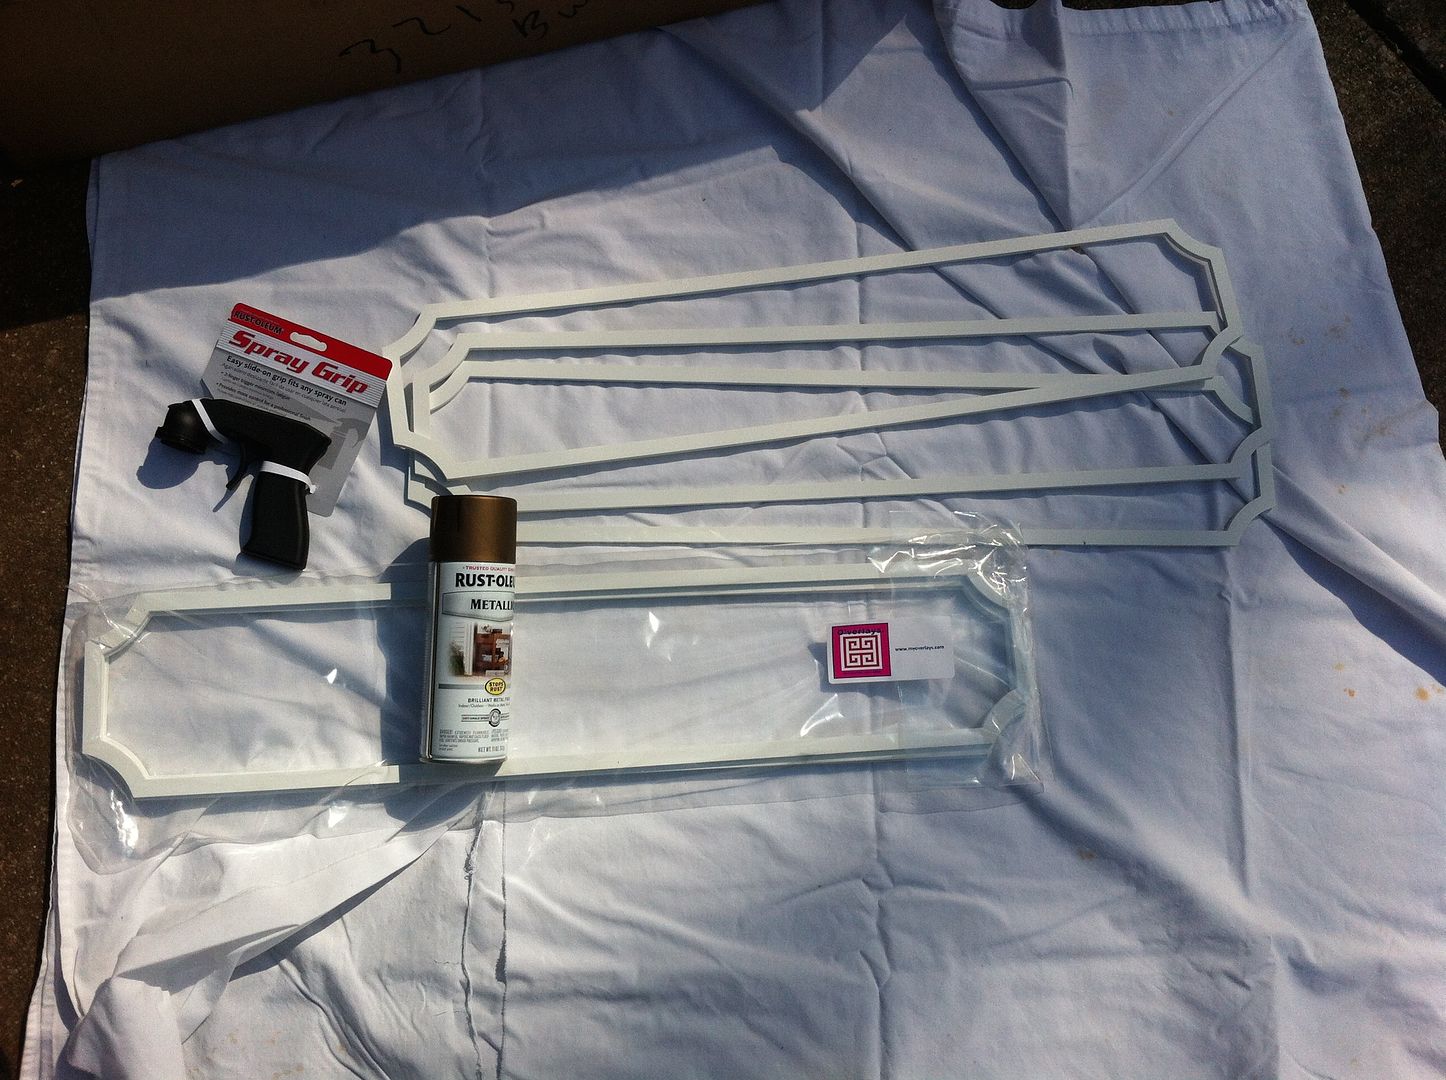
The spray paint I used was Rust-oleum "Antique Brass" and it matched the knobs perfectly.

My sister-in-law (the painter) told me about this device, and I could not have gotten the same finish without it! It gives you so much more control over the paint. I picked up both at Walmart.

With a little math and some Liquid Nails I attached the O'verlays to the chests.


This entire process happened over a couple of weekends. You need to make sure your O'verlays are completely dry before applying them to your bedside tables.
So, here is the final installation of the bedside tables. Total cost around $300.00 each.

I have to be honest, the IKEA furniture is not super well made furniture. It is a bit flimsy at best. But, the price is so right. We are not talking about an heirloom piece to be handed down for generations. We are talking about a pair of bedside tables for a tween room. So, I think for the money they are a great solution to get the look, and with a savings of over $6,000.00 total for both pieces compared to the original ones, I'm ok with the quality!

Most importantly, my daughter loves them! They have given her tons of storage for her folded items and her entire room seems much more organized.
Next week in the series, I'll give you all the details on the bedding (including that fabulous tape on the drapery panels). I also plan to show you what we did on the other side of the room - it's quite the transformation! Have a wonderful weekend. M.
Tidak ada komentar:
Posting Komentar