Can I tell you how thrilled I am it's Friday! What a crazy week it's been . . . I've been working on design plans, Christmas fluffs for clients as well as my own decorations. To add to this, I'm cleaning out my kid's rooms to make way for the addition of Christmas stuff. All in all it's been productive, but totally chaotic. So, I wanted to end the week on a calming/inspiring note.
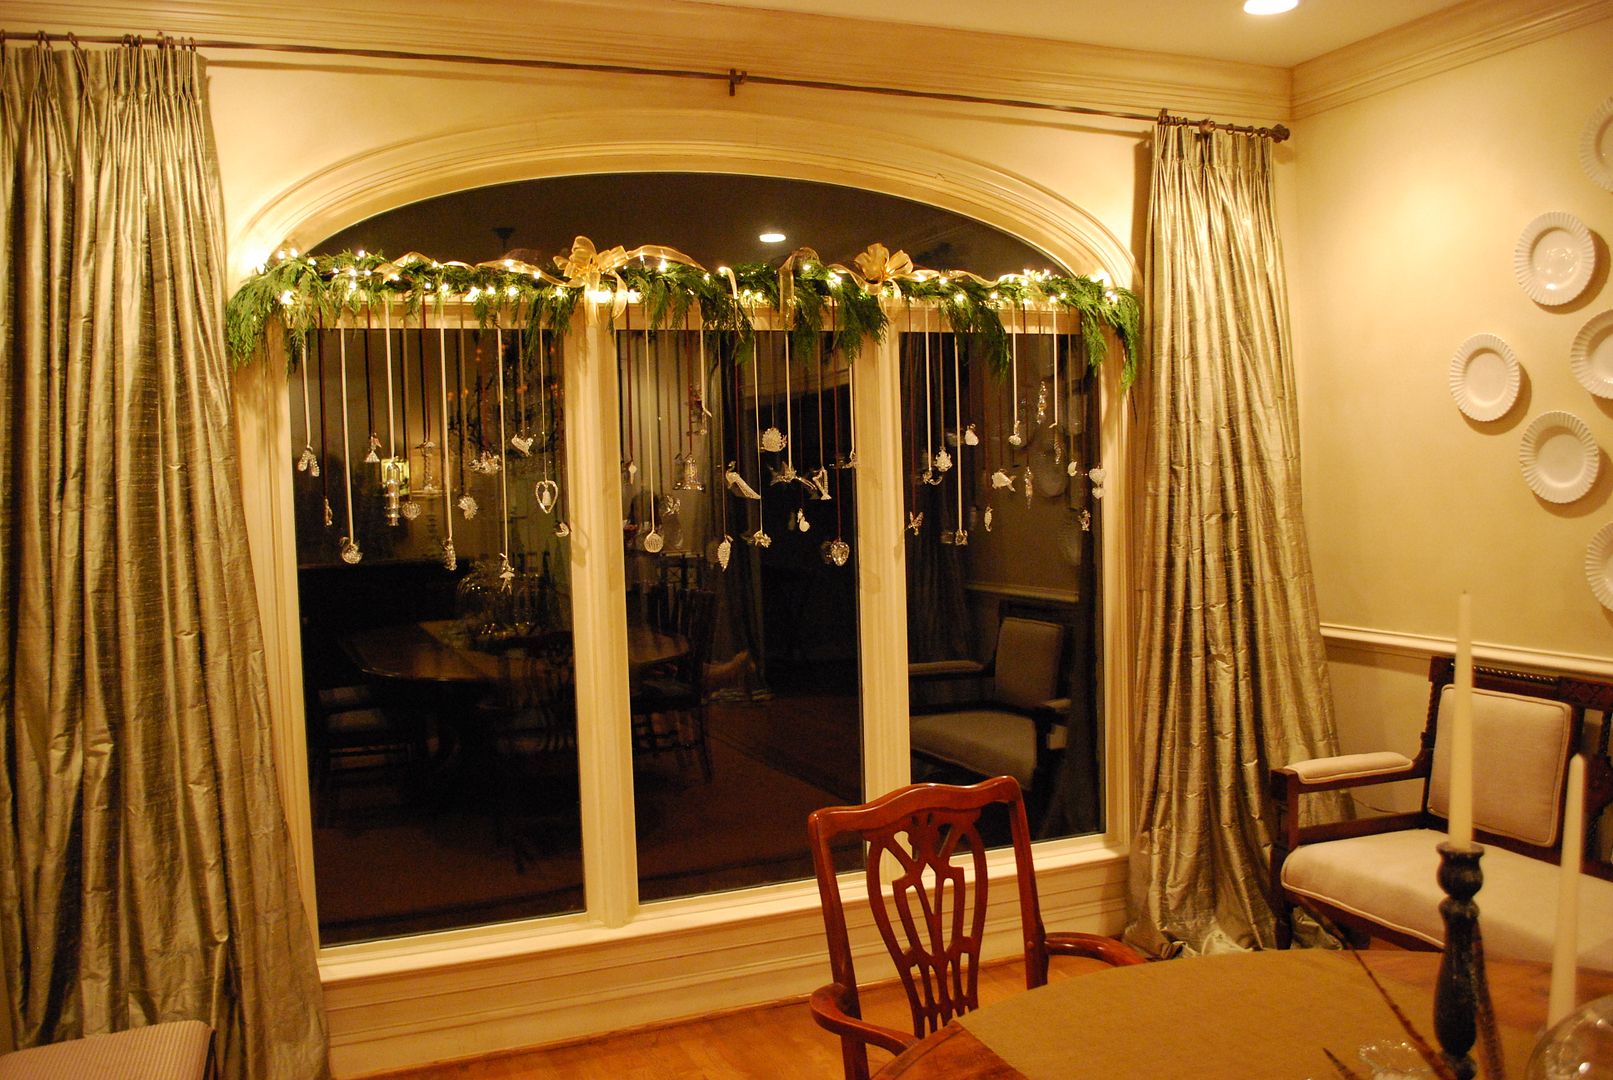
Here are a few images of my dining room all decked out for the holidays. One caveat, it was very difficult to photograph, and I found the ornaments could be seen more easily at night.
Here are a few images of my dining room all decked out for the holidays. One caveat, it was very difficult to photograph, and I found the ornaments could be seen more easily at night.
Here's a view from the other side of the room.
This past fall, a very dear aunt of mine called and asked if I wanted all her blown glass Christmas ornaments. She's had these since I was a kid. I still remember her Christmas tree covered in them. I would walk around it picking out my favorites - the ballerina, Cinderella's carriage, and a Christmas tree. After I picked myself up off the ground and thanked her for this very special gift, my mind started racing on what I would do with them.
Since the ornaments are clear glass, they are very difficult to see on a tree. You really need colored lights to give them some interest. In addition, these ornaments are the most fragile things I've ever used in decorating a space. Since I have white lights and my kids are not super careful around our tree, I decided to use them in my dining room.
My solution was to hang them from ribbon (1/4" chocolate, moss green and cream double sided satin ribbon) in front of the large windows in my dining room. By grouping them, you really get some impact. And by suspending them from the ribbon, you can appreciate all the intricate details of each one. They truly are like little works of art.
The small ledge from the transom window gave the ornaments just enough space to float in front of the window. I then added some cedar garland with one strand of white lights to the top to hide the hooks, and I threw in some ribbon for good measure. As an aside, I did not make a million nail holes in my window frame - each ornament is attached to one of those small self adhesive clear hooks. The garland is wired to three nails at the very top where they will never been seen.
Then we (my daughter was waaay into this project) selected our favorites from the entire collection to hang from the chandelier. I plan to add a bit of fresh greenery from the chandelier the night before our annual party just to hide the string. I decided to go with the clear rather than ribbon here so our guest would be able to see each other and not be distracted by tons of ribbon hanging from the chandy. Do you see the ballerina?? Makes me think of the Nutcracker!
Then for the table top. I decided to keep the glass/natural element thing going and added as much glass as I could squeeze into the center of my table.
I already had the glittered trees, pinecones, pheasant feathers, sheet moss and candlesticks. I did add the three cloches for more sparkle. I got a great deal on them from here. I saw a white burlap runner from Pottery Barn for $50, and decided to save a little money by going to the fabric store and purchasing three yards of natural burlap for $15. I simply cut it the length I wanted and frayed the edges. I had enough burlap to add a runner to my sideboard as well. Then, I used things I already had under the cloches for little vignettes of Christmas.
I hope everyone has a lovely weekend! I for one will be taking a nap at some point. M.


Tidak ada komentar:
Posting Komentar