Tampilkan postingan dengan label tutorials. Tampilkan semua postingan

Senin, 23 November 2015

Christmas Stocking Tutorial

Earlier this week, I promised to share with you how I made our Christmas stocking last year.  It was a fun affordable way to get a custom look.  I hope you try it for your own home! 
image via Mandi Smith T Interiors

Step One: I took some leftover suede fabric (I used it to make lumbar pillows for chairs in my family room), and had it monogrammed with our names.  I chose chocolate for the lettering just to keep it neutral.  For those local, I had these done at Smith's Variety.

Using one of our stockings from the previous year, I created a pattern from leftover wrapping paper (see all that red in that paper - told you!).

Using the pattern, I cut out one linen "back" for the stocking.

Then I folded down the header of the pattern and cut out one linen "front" for the stocking.  If you want to make this easier, you can simply cut out two linen pieces of the same size and simply overlay the monogramming on top of it.

Then using a liner fabric (I used a thick cream cotton), cut out two liner stockings.  These will be inside the stocking and help to finish all the edges nicely.

Once you get your monogramming complete - with same sides together, sew the bottom of the monogrammed piece to the top of the front linen stocking.

It will look like this (and yes, I did make one for our cute dog, Lottie).

Then using a wide satin ribbon, pin it to the stocking (making sure to center it on the seam you just created).

Then top stitch the ribbon to the stocking on both edges.

Place your pattern on top of what you have sewn so far and trim off any excess fabric.

You now have the finished front of the stocking.  It will look like this.  Just an aside, it would have made the sewing so much easier if I had not rounded the top of the stocking.  A straight line across the top and down the sides would have been much, much easier.

Now it's time to attach the liner to the linen pieces.  Place one liner piece on top of your finished front.

Also place a liner piece on top of your linen back stocking piece and pin these together at the tops only.   Once pinned you will sew these together just at the tops on both pieces (this is where it would have been easier had it been a straight seam.  Then you will open them up to reveal this seam.

Both front and back will look like the picture below.  Now it's time to sew the two long pieces to each other along the sides.  I the image below I have sandwiched the pieces together.  The bottom piece is the liner and back linen (sewn together at the tops) and the top piece is the liner and front linen piece sewn together at the top.  So, to be clear as mud, the liners are matched up on the left and the stocking pieces are matched up on the right (with right sides together).   You will pin these two long pieces together all the way around with the exception of the bottom of the two liner pieces.

Here's a close up of the one place where you will not sew them together.

Once sewn together, you will reach into the opening and pull the stocking out so that the right (or correct) sides are showing.  Much like "righting" a sock before throwing it into the wash (that never happens around here!! Ha!).

Here's a picture of me reaching inside to "right" the stocking.

I took several pictures of this because it is one of my favorite parts about sewing.  I always think - Wow, It worked!

Once you've pulled this stocking through, all you need to do to finish it is whip stitch the opening in the liner closed.  Remember this does not have to be pretty because it will be buried inside the stocking.

Now, last step!  You need a loop to allow you to hook the stocking onto the mantle.  Rather than making this hard, I decided to use leather string.  I think it adds some interesting texture too.

I cut even lengths of leather (so that all the stockings would hang at the same level), and I tied a decorative knot on both ends of each piece.

Then, using a sewing marker (which disappears when you wet it), I made two even marks on each stocking where I wanted to sew the leather strips.

You could do this part by hand, but I'm lazy and wanted to use the machine.  So to do this, you will need to select a zig zag stitch on your machine and drop your feed dogs (which will prevent the fabric from moving), and stitch back and forth in one single spot over the leather end.  You will do this for each of the two knots on the stocking.

If you look closely you can see where I did this.  I used the clear monofilament thread to make it less noticeable in the finished product.

Here are all five (including Lottie!) finished stockings.

And here is how it will hang from the leather strips.

I know this sounds like a lot of steps.  But once you get one under your belt, you can easily get the others finished.  M.
  

Senin, 02 November 2015

Drapery Detail Tutorial

Last week, I posted about a master bedroom installation I completed for this great couple who live in Mountain Brook.  I mentioned you can get a high end custom look with your drapery panels by adding trim detail to the lead edge of ready made panels.  It's very simple to do and will save you lots of cashola.

  Here's what I did . . . 

Find high quality 100% linen panels with 100% cotton lining.  These days they are really more available than you might think.  Think mainstream interior design stores (you know the ones you get a catalog from every other day or so?) and you'll find lots of options.

Also, these panels were actually a tabbed top style.  But, we chose not to use the tabs and installed them with rings and rod hardware.  This is another great way to get a really high end look.

 You will need to iron the inside edge of the panels where the tape will be applied.  The key to a great finished product is not the quality of your sewing machine, but rather, in the time you take to iron everything really well.  Since these panels were very wrinkled when I pulled them out of the bag, I ironed the lead edge front and back (no starch, just steam) before even thinking about pinning the tape to the panel. 


Turn under the cut edge of the trim and pin it to the back side of the top of the first panel where you want the tape to go.  This will prevent the tape from raveling.   In our case, we added the tape just to the inside or "lead" edge of each panel.  But you could add it to the top, bottom and/or sides depending on the look you would like to achieve.  

Carefully sew the tape to the panel on the back side.  You will not be able to see this seam on the front side since the tape will cover it. 

Flip the panel back over to the front side and begin pinning the tape in place.  I never apply the tape right to the edge of the panel.  To really get some contrast, I like to apply the tape 1/4" from the edge.  I make this measurement the entire time I am pinning the tape down.  

You want this edge to be exactly the same all the way down else you eye will be drawn to the difference and the tape will look very uneven.

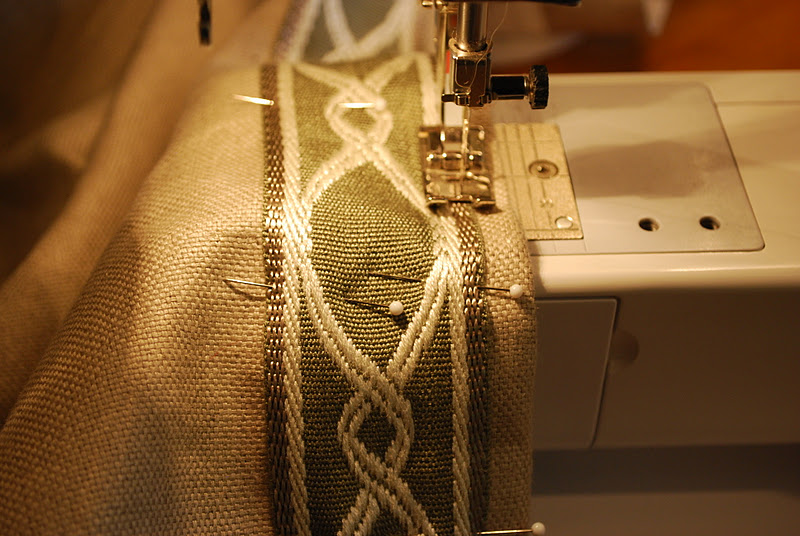
Sew the tape onto the panel.  You will need to do this on both sides of the tape.  I like to make this seam as close to the edge of the tape as I can get it.

First the right side . . . 

Then the left . . . 
When you get to the bottom, you will need to tuck the tape under just as you did at the top.  For this seam, I tack it down by hand as to not see it in the finished product. 

I always use a monofilament thread when I am doing this type of top stitching.  Monofilament thread is clear like fishing line so you will not see it in the finished product. 

If you are using a graphic tape with a longer repeat (like what we used in this project), it is very important to make sure the pattern matches on the two panels that will be flanking the window.  If you don't do this, it will not look right in your finished product! 

That's it!  If you don't sew and are feeling a bit frustrated right about now, consider begging, pleading or even bribing a friend or relative who sews to do it for you.  I called several workrooms here in Birmingham and the price varied from $25 - $50 per panel to add this type of detail.   So, it will serve you well to do a little groveling! M.
Minggu, 04 Oktober 2015

DIY Project - Intaglios Tutorial & Giveaway

As mentioned yesterday, I created a grouping of framed intaglios for my entry way.  Each one cost me around $33.00 which is a fraction of the $395.00 retail price.

I promised to give you all the details, so here goes it!

Supplies

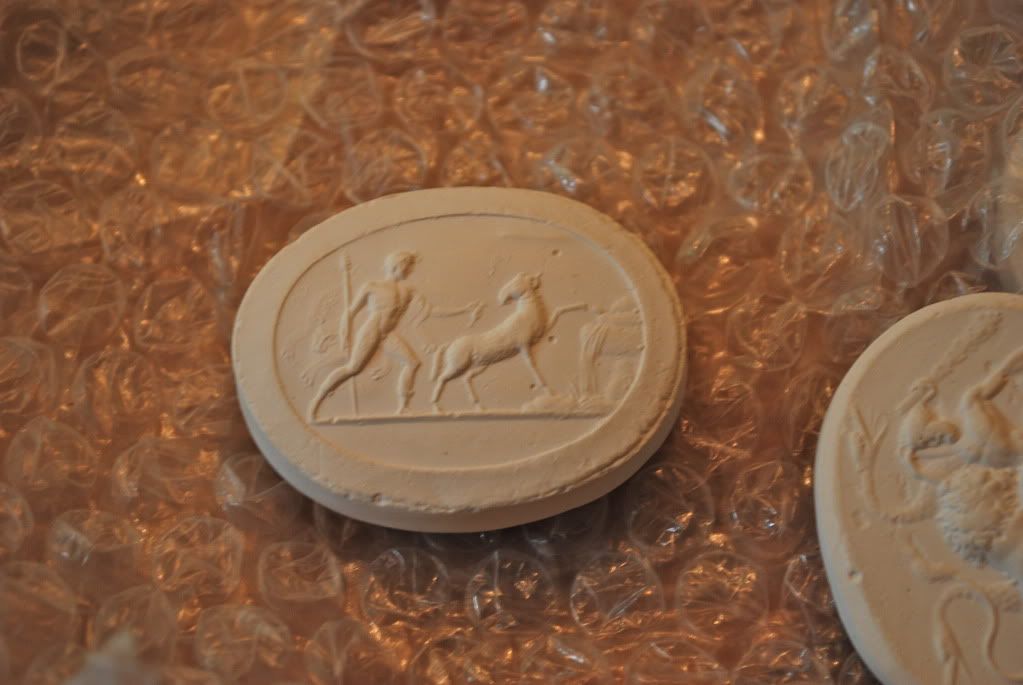
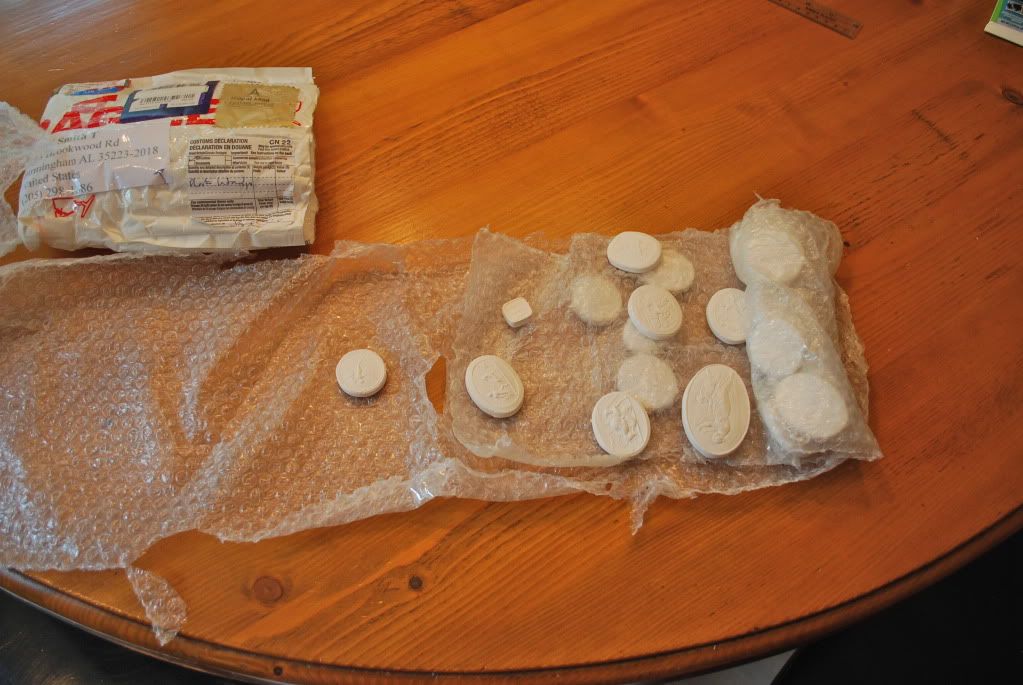
1. Intaglios - I found these on Ebay by searching for "plaster cameos."  The lot I purchased included 32 total.  The more the merrier when you are creating a grouping.  Here's a current lot for you to consider Plaster Cameos (btw, the price has gone up since I got mine, but it's still more affordable than the retail version).


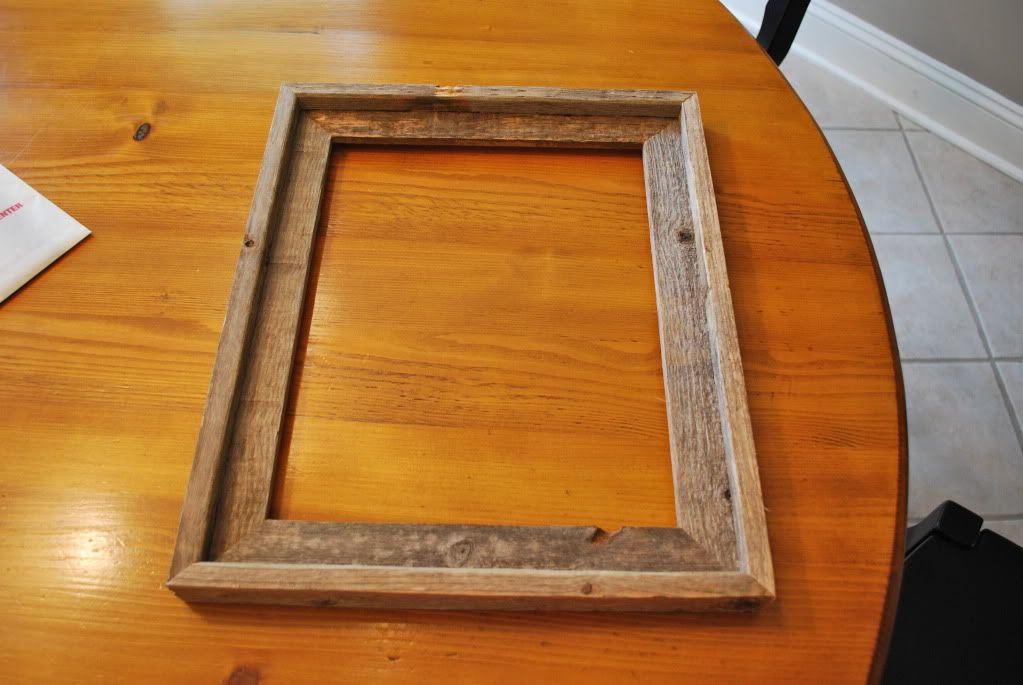
2. Frames -  I used the 14x17 stock driftwood frames from Hobby Lobby.  I bought them during one of their weekly %50 off frame sales (check their flyer on line to see the next scheduled sale).  They didn't have enough so I requested a "raincheck," and they ordered the number I needed at the %50 off price. 

3. Mats - I was not able to find enough of the same color at Hobby Lobby, so I had to order these online at pictureframes.com.  The shipping was more than the mats themselves.  If you can find a local retailer for these, you will save even more money.  I selected the "ivory linen" color in an 8x10 image size for an 11x14 frame inset size.  Also, they smudge very easily, so I tried to keep my hands clean and dry when handling these.


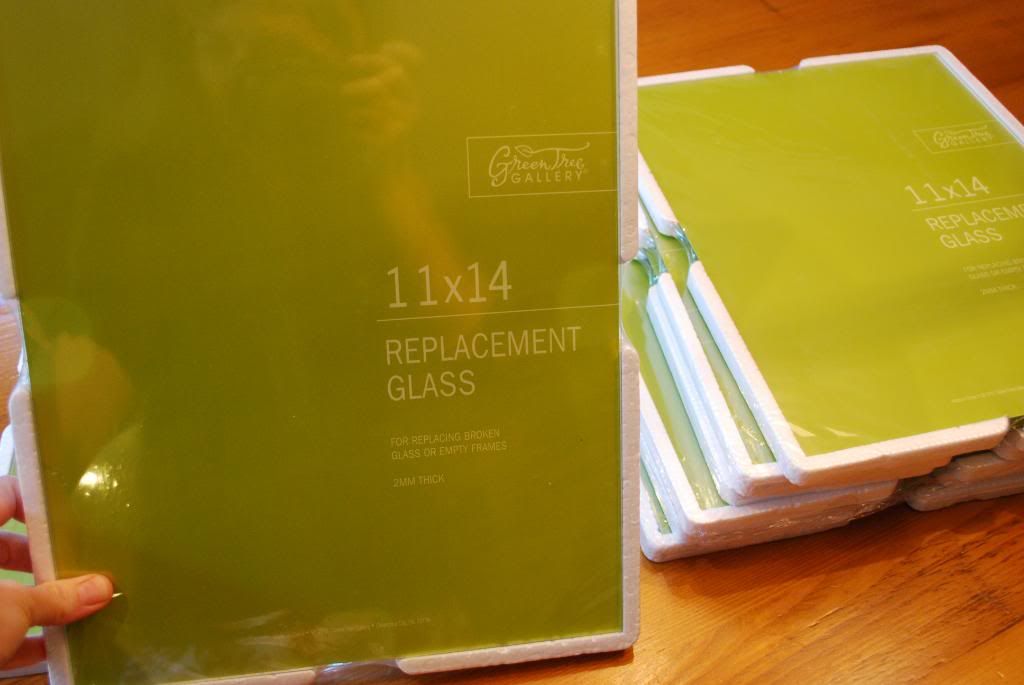
4. Replacement Glass -  found at Hobby Lobby.

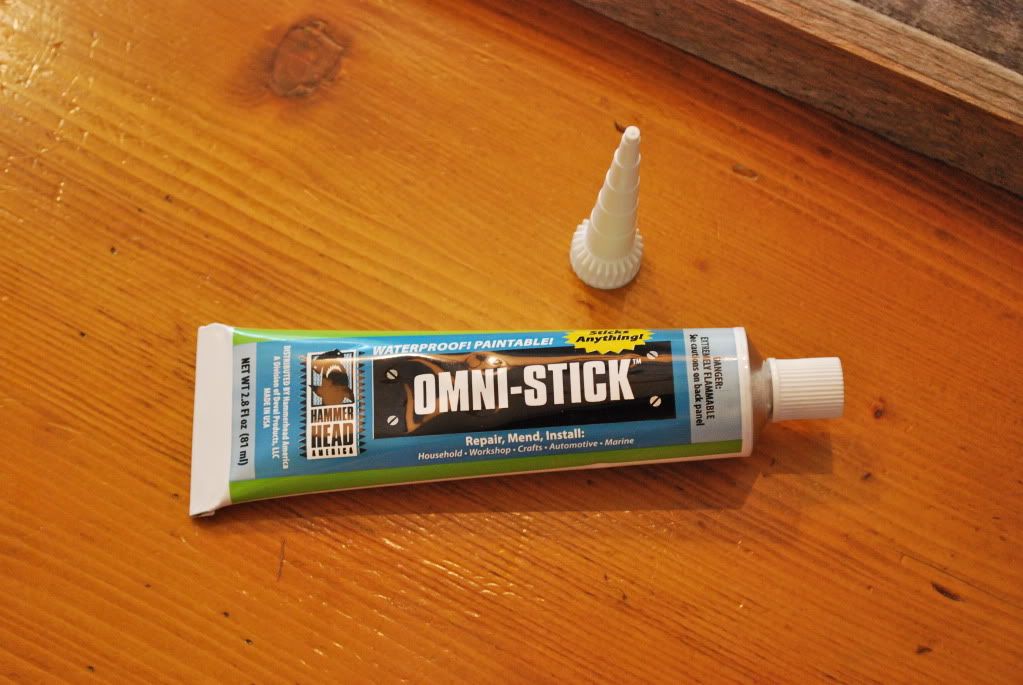
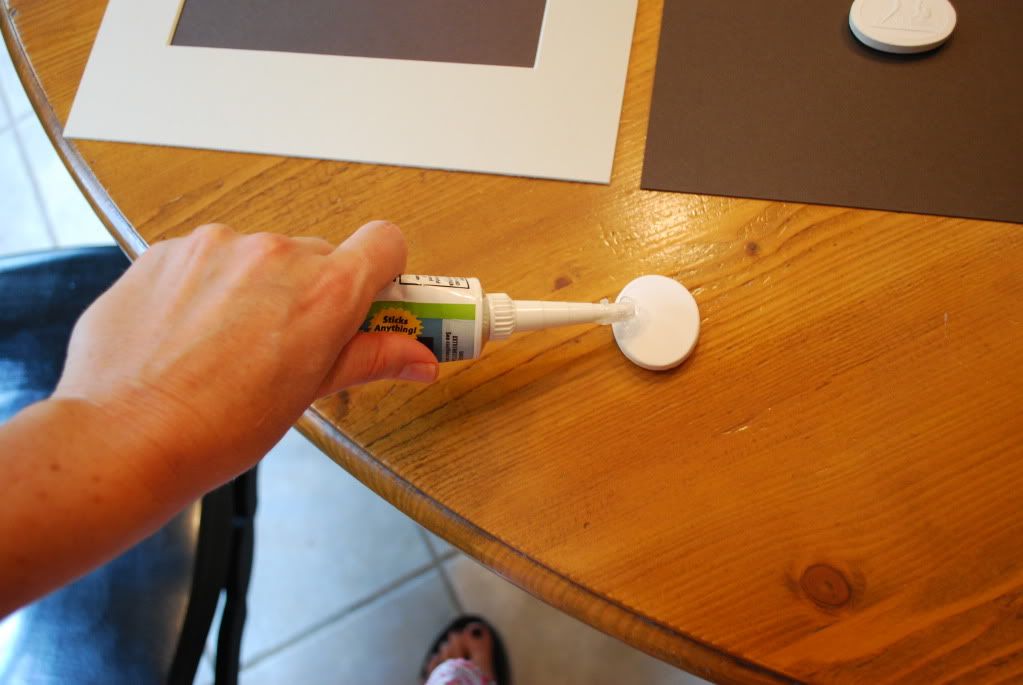
5. Glue - I used a glue that was specifically made for gluing paper, ceramics and cement - found it at Hobby Lobby.  Also, this is not a fast drying glue which allows you to adjust the intaglio a bit on the card stock.  It does dry clear.  If you use a different glue, be sure to test it before using on the entire project!

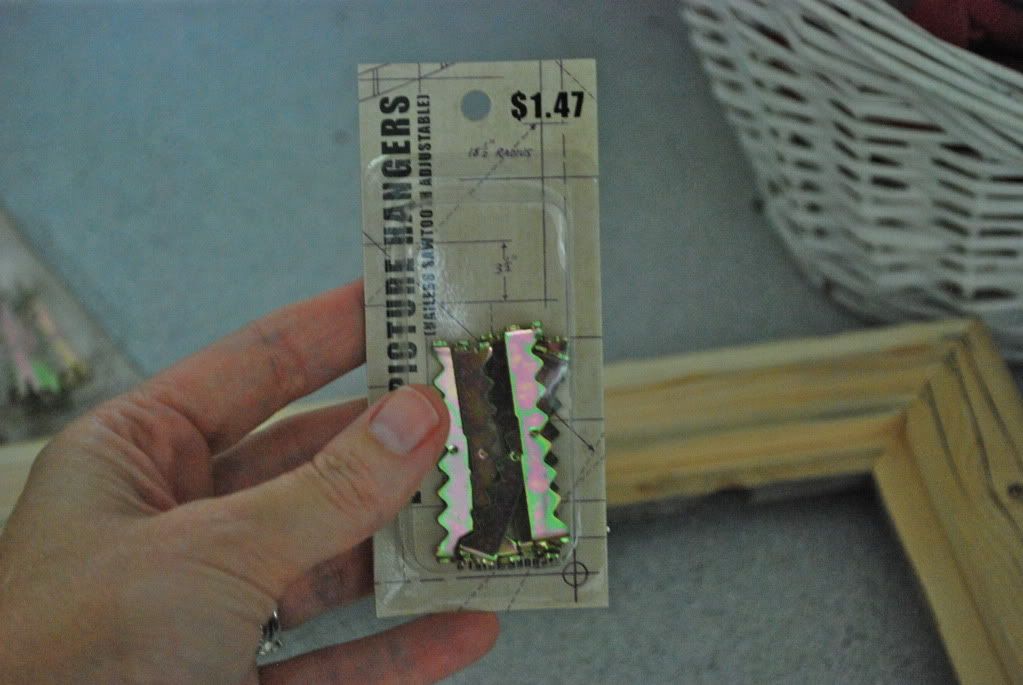
6. Picture Hangers (Hobby Lobby) - I have used these for years for styling jobs.  They are tons easier to work with compared to the eye hooks and wire and since these are light weight frames, they are the perfect solution.

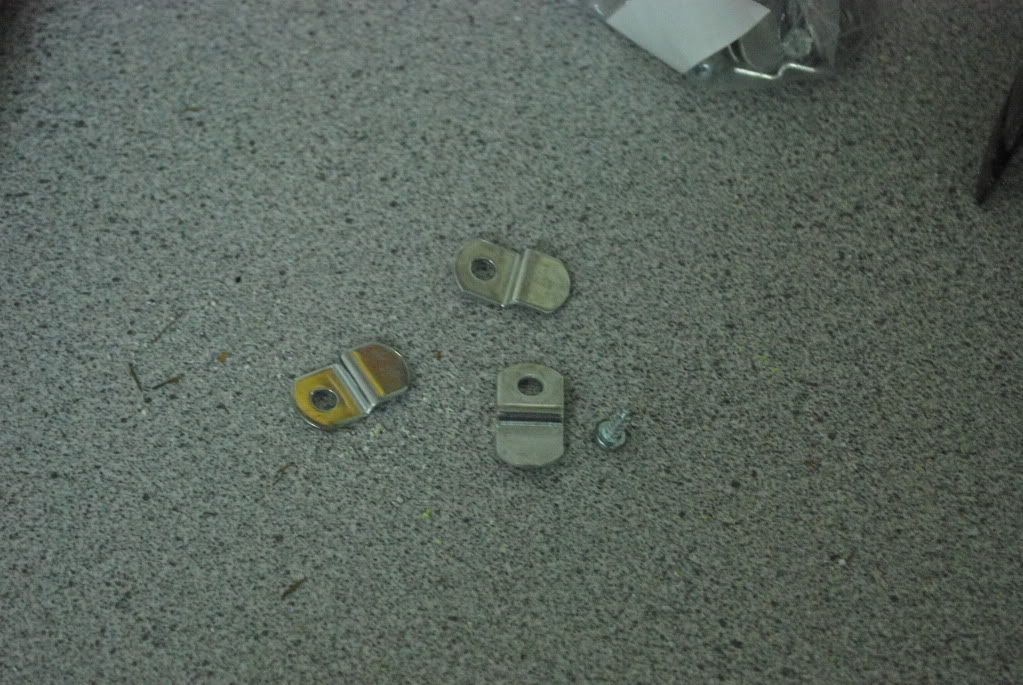
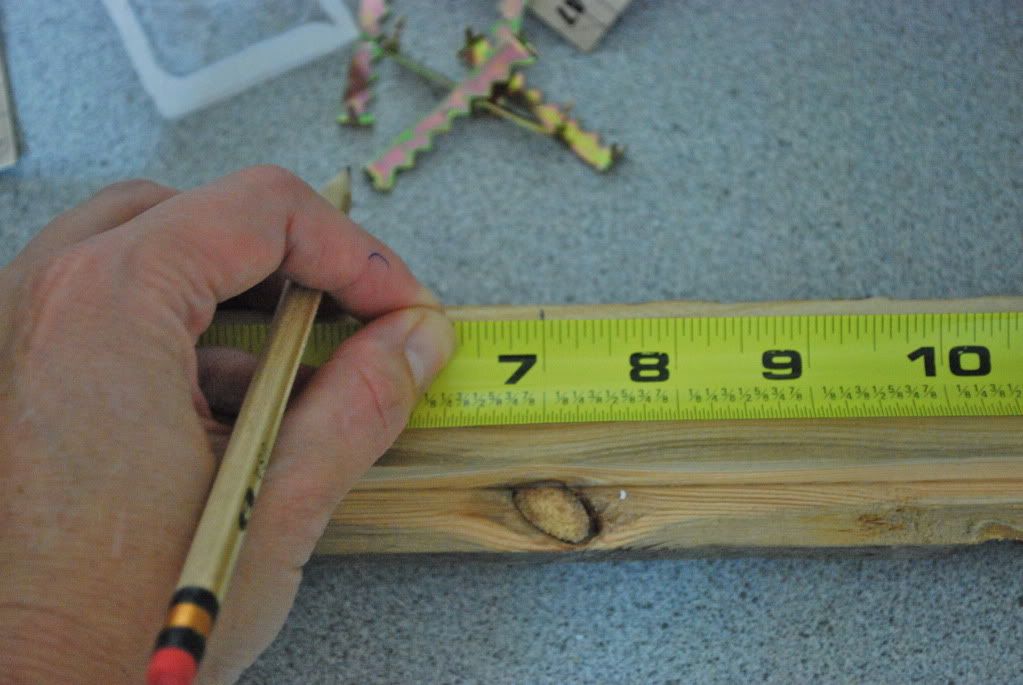
7. Off Sets - these are crucial to the project.  They're not a retail item at Hobby Lobby, so you will have to ask the personnel in the frame department to pull you enough for your project.  If you can't get your Hobby Lobby to sell them to you, here's an online source for the off sets.  Not sure, but I think mine were the 1/4" version.  

Without the off sets, you will not be able to secure the back - which ends up being thicker than the frame in the finished product.

8. Chocolate Card stock (letter size) - any stationary shop can sell you this.  Locally, I ran into Smith's Variety and picked up mine.  The picture is deceiving b/c the color is really much darker, almost black in person.  I think a dark gray would look great too.

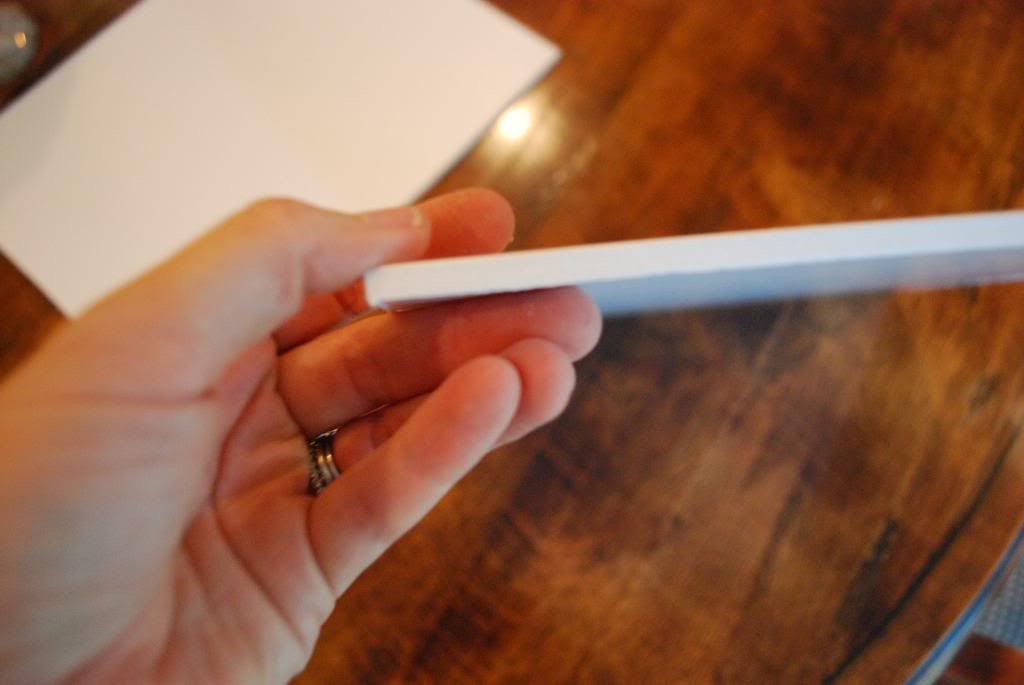
9. Window Insulation Rubber - I know it sounds crazy, but after lots of trial and error, this is the least expensive way to give you the depth needed between the matt and the intaglios while maintaining a clean consistent edge.  I picked it up at Home Depot. Get the 5/16" thickness in white to ensure the intaglios have enough space in the frame.

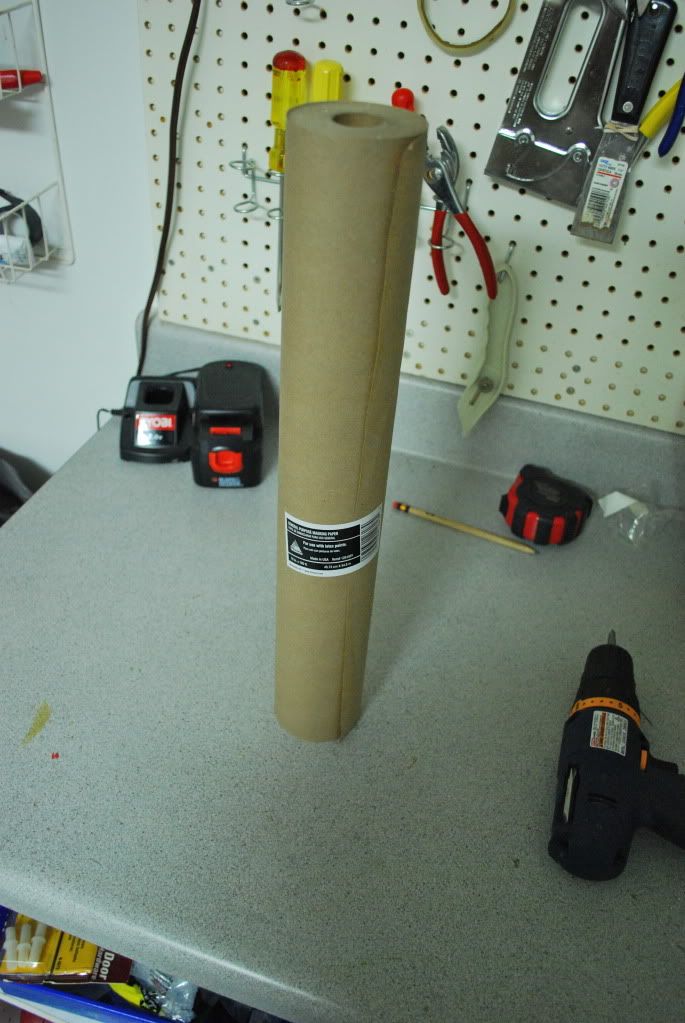
10. Brown Trim paper - This is not essential but if you want the backs of the framed pieces to have a professional finish, you will need this.  I found it in the paint department at Home Depot. 

11. Double stick tape - this holds the brown finishing paper in place.

12. Foam Core Board - This will be the base for the intaglios.  You could use mounting board, but if you are doing a lot of them, it will get expensive fast.  Since you do not see this in the finished project, I decided I would use the more affordable option. 


Step One
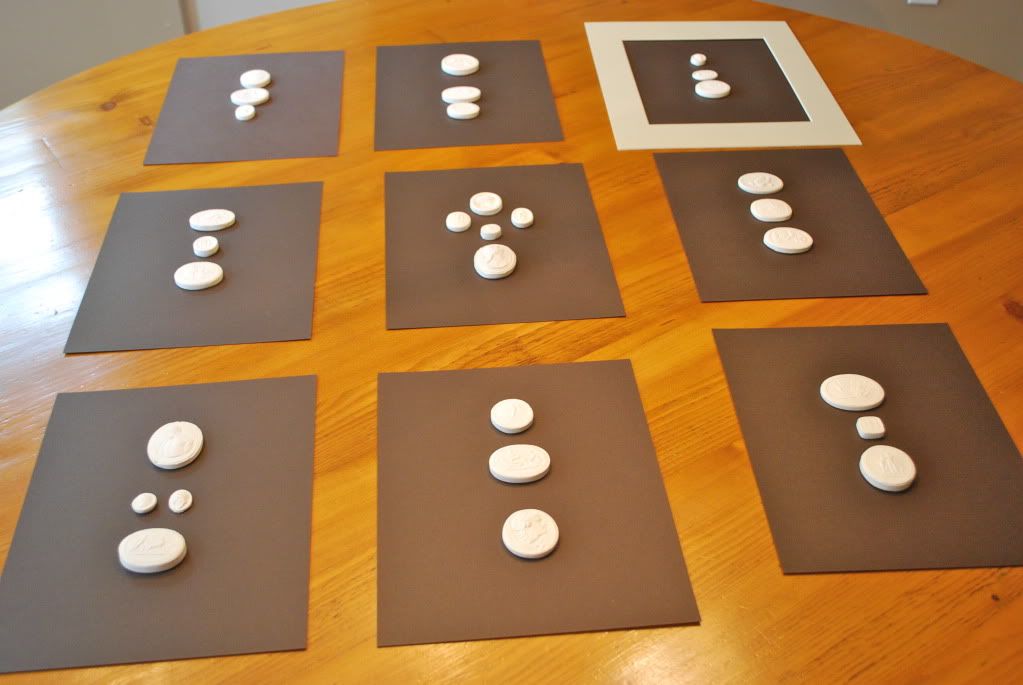
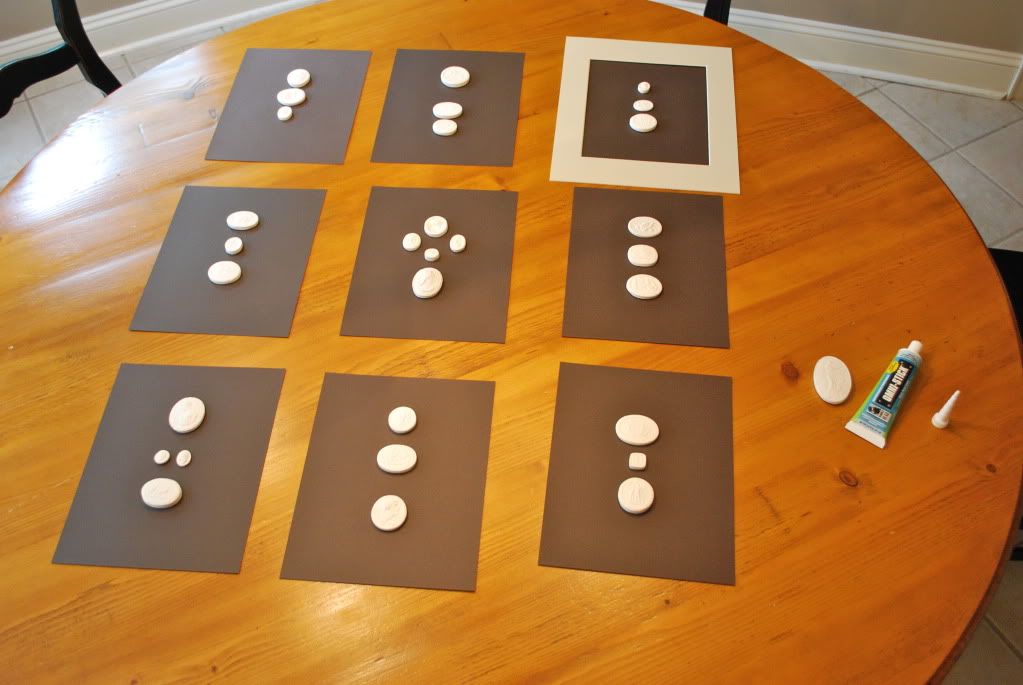
Decide on the number of frames you will be using and place all the intaglios on the card stock to decide proper placement.  I tried to create symmetry in my layout.

Step Two
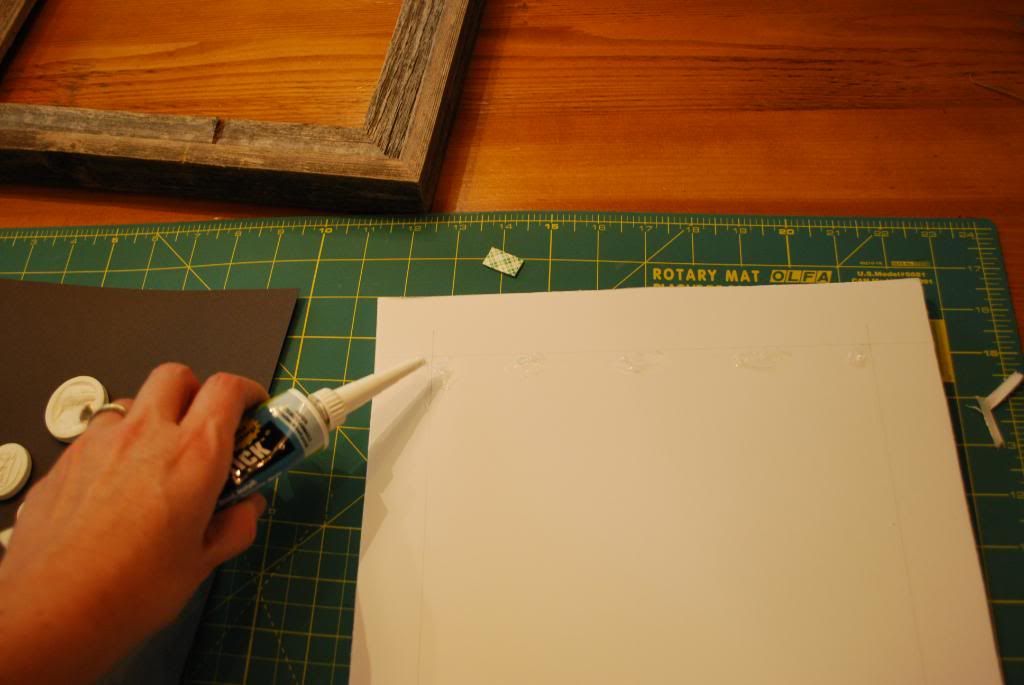
Glue the intaglios in place on the card stock.  I started by ensuring the backs of each intaglio were clean and dust free so they would adhere to the paper. 


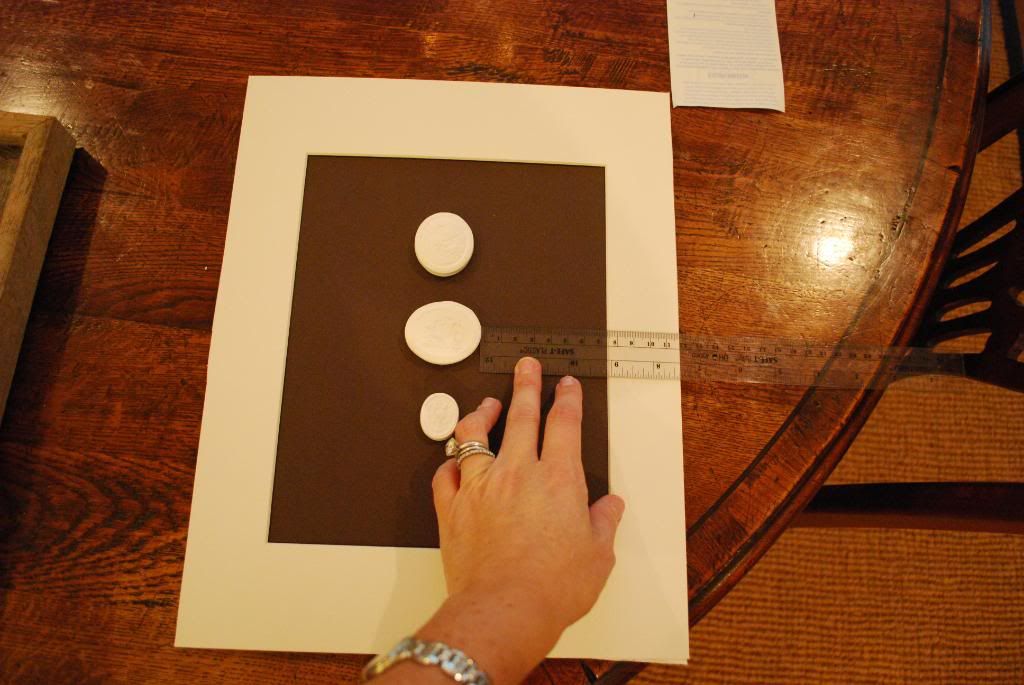
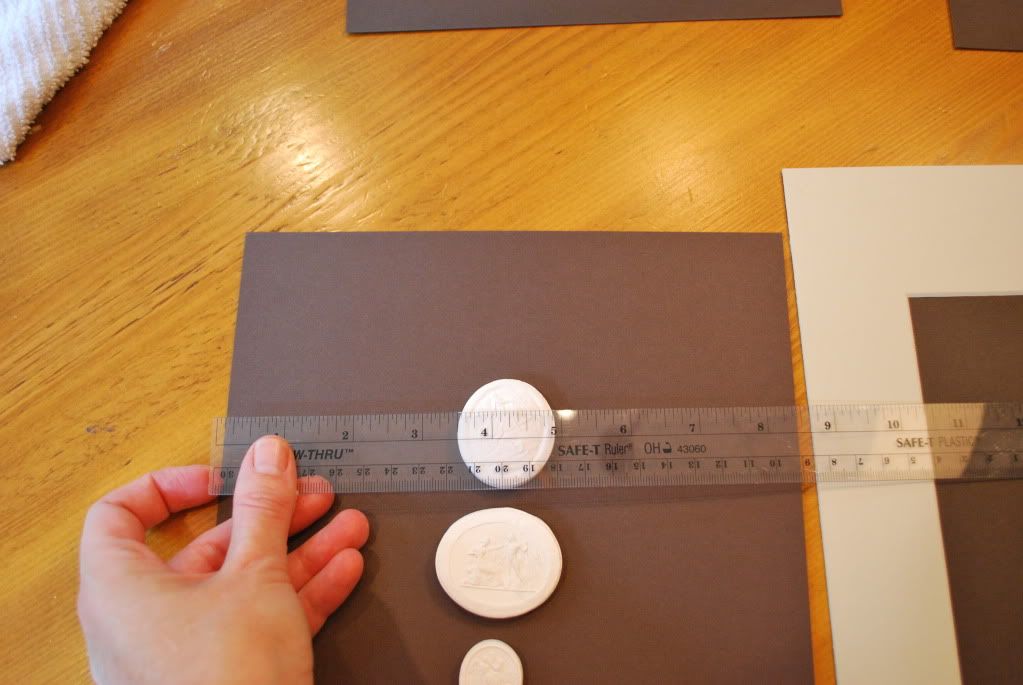
Then, using a ruler, I determined the center of the paper and proper placement.

I then glued each intaglio in place.  As I mentioned, the glue is not fast drying so you are able to make small adjustments in placement.

Then I allowed these to dry overnight on a flat surface.  Do not rush this part!! 

Step Three
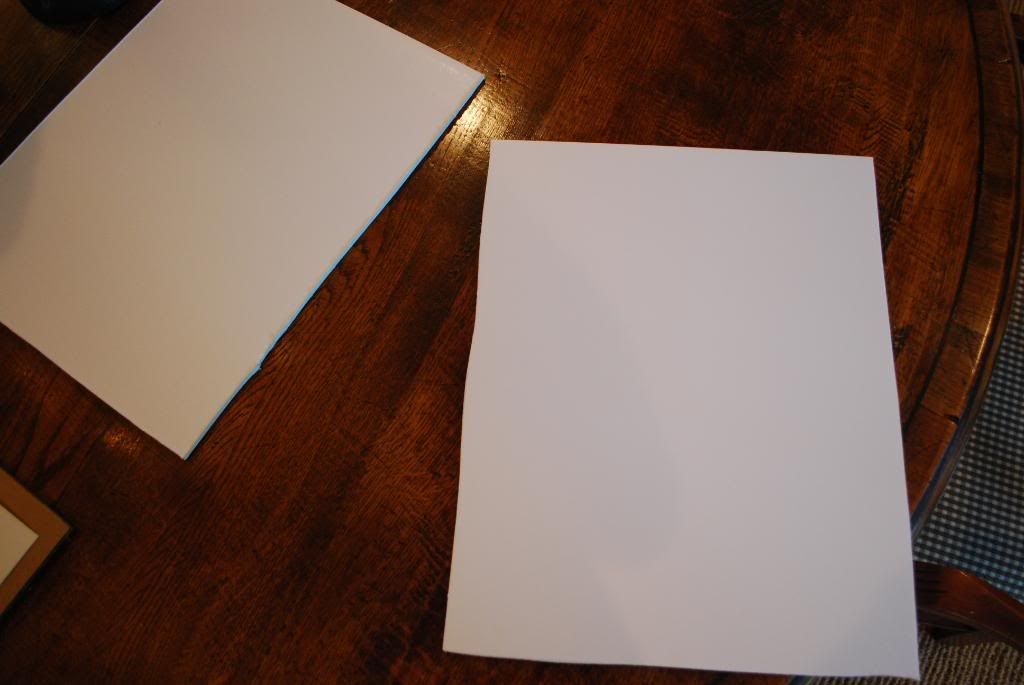
Cut Foam Core Board to 11x14 pieces for backing of intaglios.  
I started using a box cutter, and then decided it was taking to much time and energy so I got out the handy electric knife (not kidding).  It cut like butter!
Notice the foam core board does not have to be cut perfectly straight since you will not see it in the final product. 

Step Four
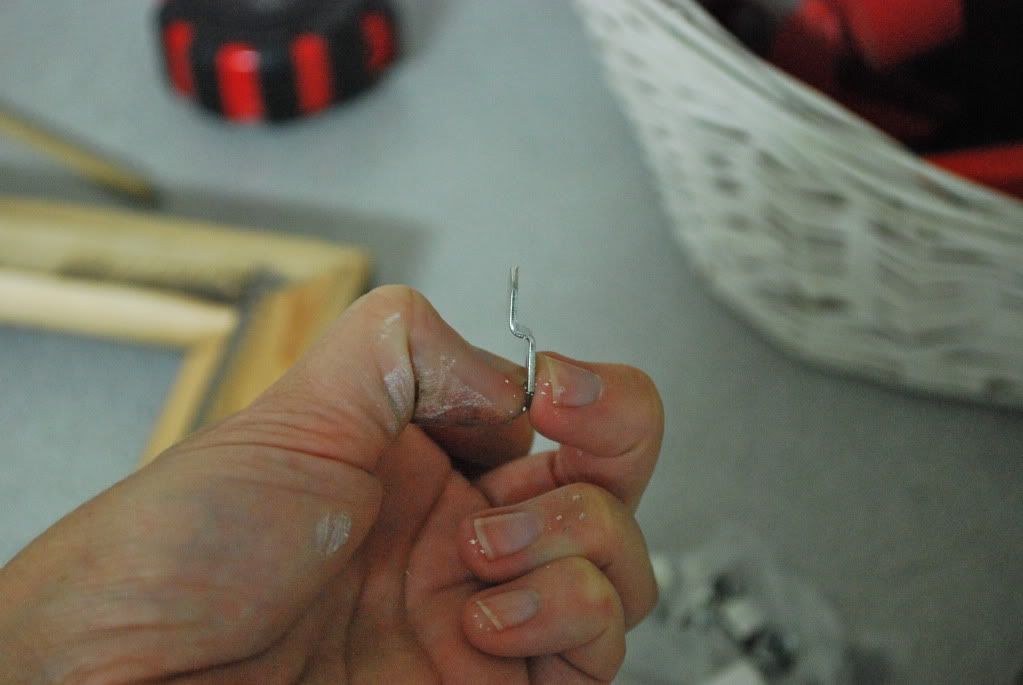
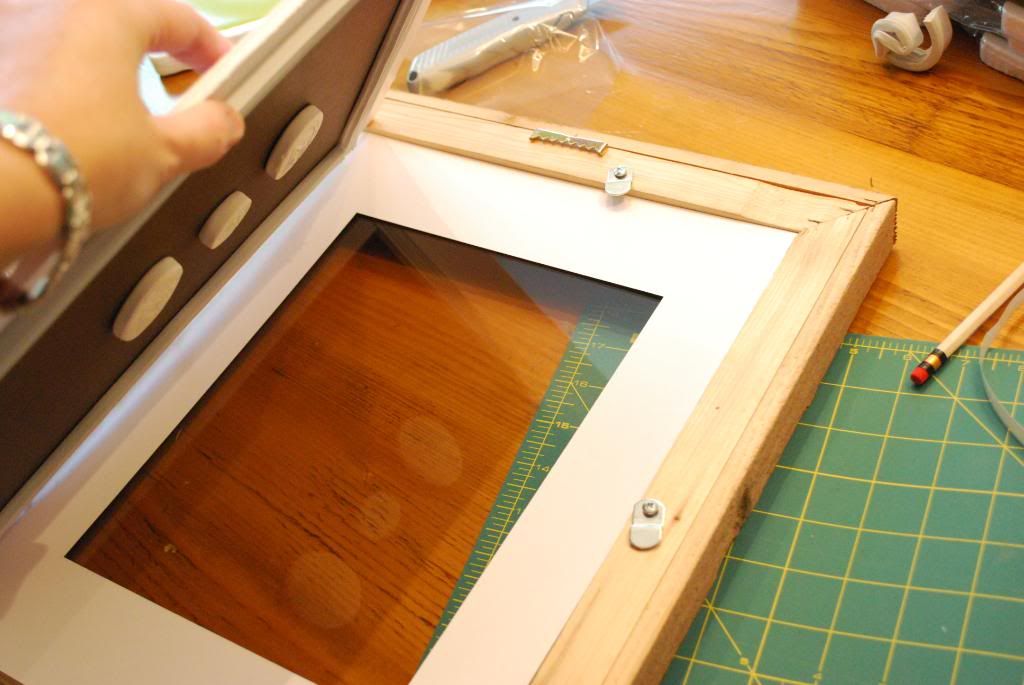
Prepare the frames - I hammered in the picture hanger (making sure to place it in the center on each frame) and the off sets (which I did not drill in the entire way).  

You want to do this step before placing the intaglios in the frame, since the hammering, etc could loosen your intaglios in the finished project. 


Step Five
Secure card stock (which now has the intaglios on it) to the foam core board.  To do this, you need to place the card stock on the foam core board and then place the mat on top of it and adjust the intaglios until they are centered with the mat (or you could use adhesive mounting board for this step and skip the glue).

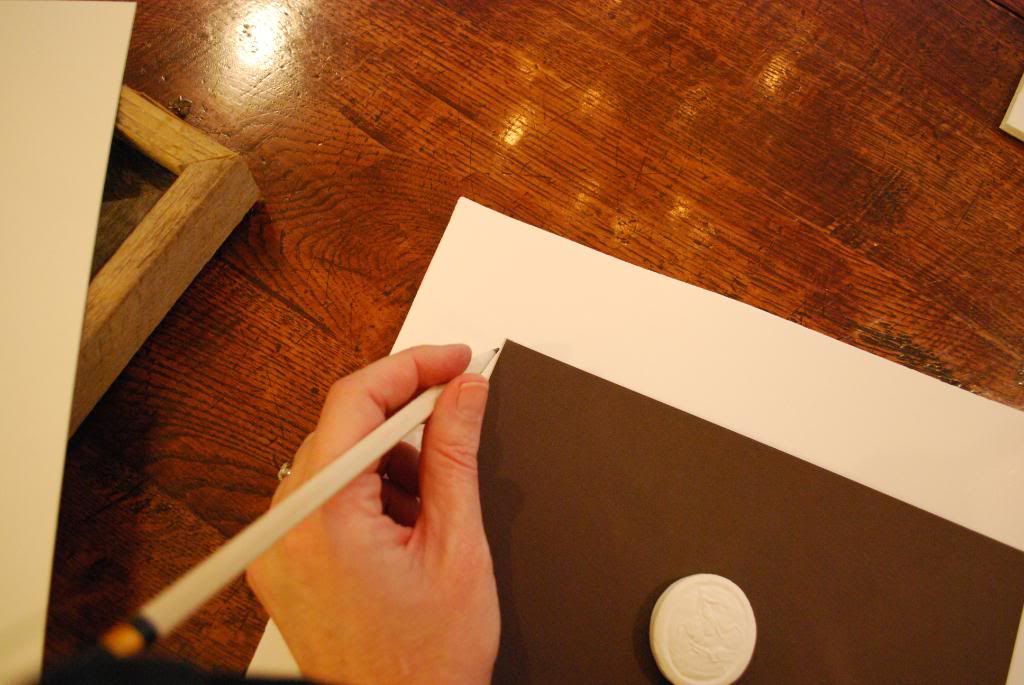
Then lift up the mat and mark the proper placement of the card stock on the foam core board.  

Place glue on the top and bottom lines on the foam core board where the card stock will be placed and press the card stock into the glue. 

 Allow this step to sit overnight to dry.  (I never said this project was quick!  Just easy and affordable!)

Step Six
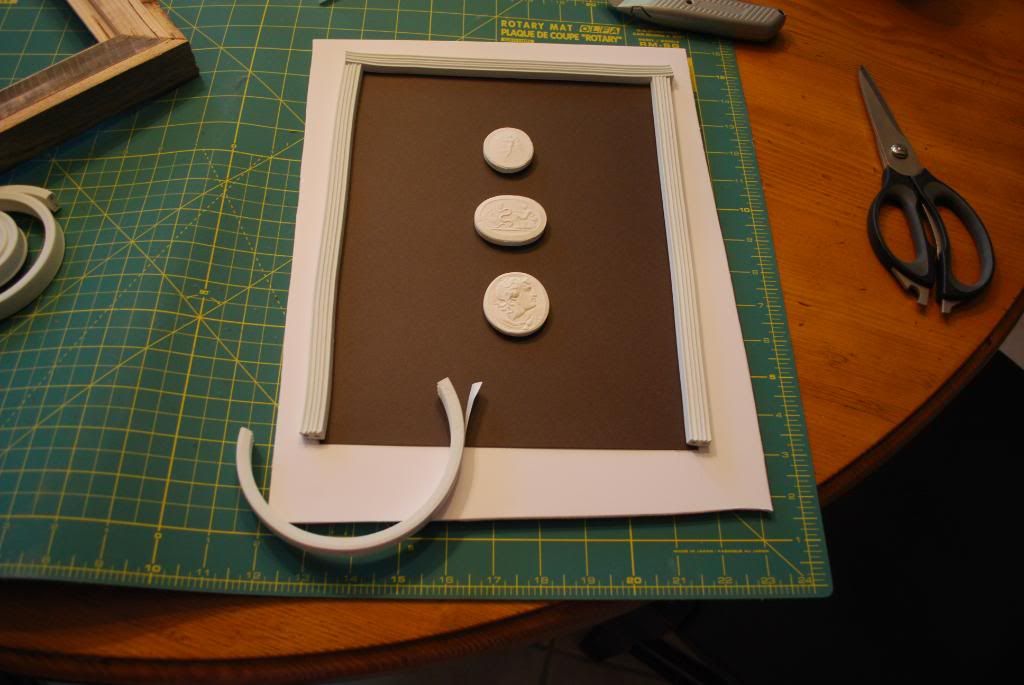
Create depth between the mat and foam core board using the window rubber seal.
Following the line of the card stock, cut and stick the self adhesive rubber seal onto the foam core board.  You just want to catch the edge of the chocolate paper, to ensure you don't see the seal once the piece is put together. 
Only the edge of the rubber seal can be seen (if you leaned in close and tilted the frame), so don't worry about how the pieces connect in the corners.

Step Seven
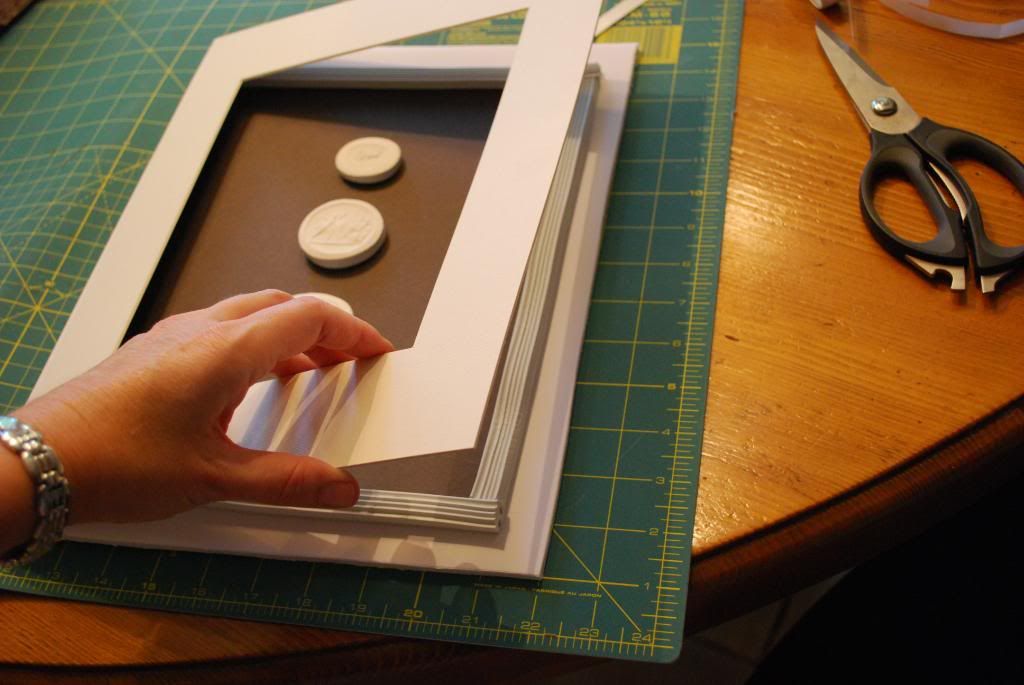
Put the layers together - Place the frame face down, add the glass, the mat, and then the foam core board (which has the intaglios and window seal glued to it at this point).

Step Eight
Tighten up the off sets on the back to secure the layers together.

Step Nine
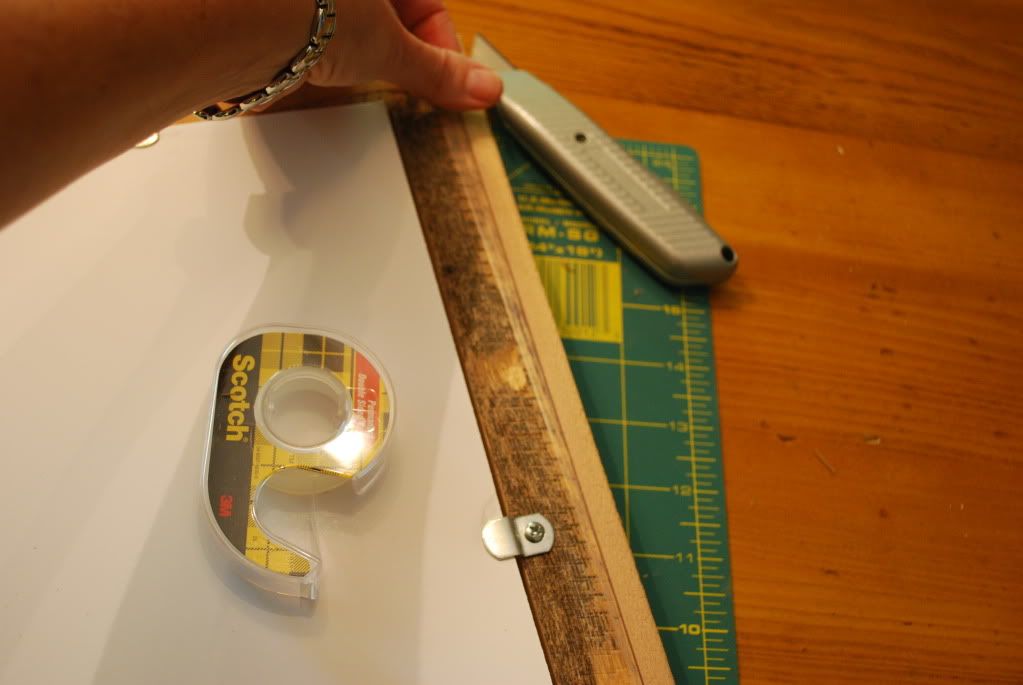
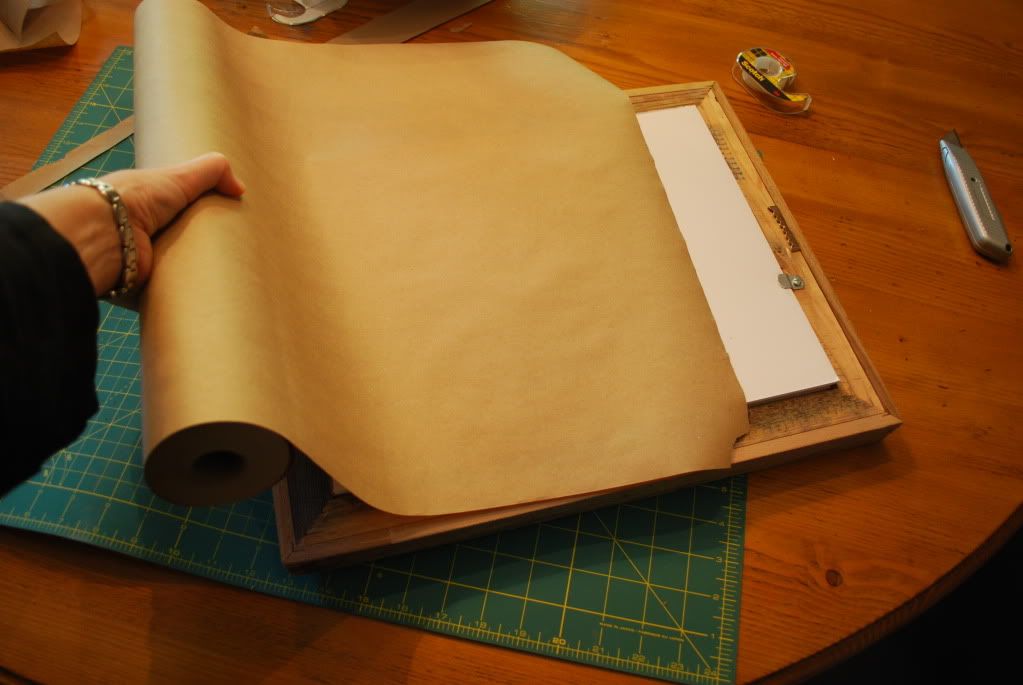
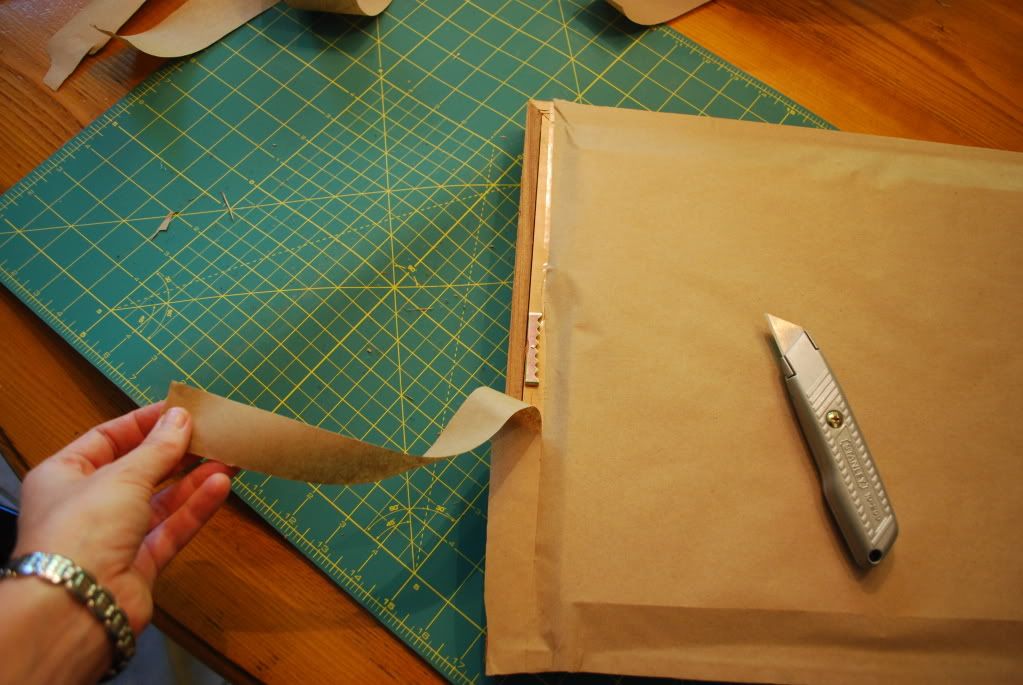
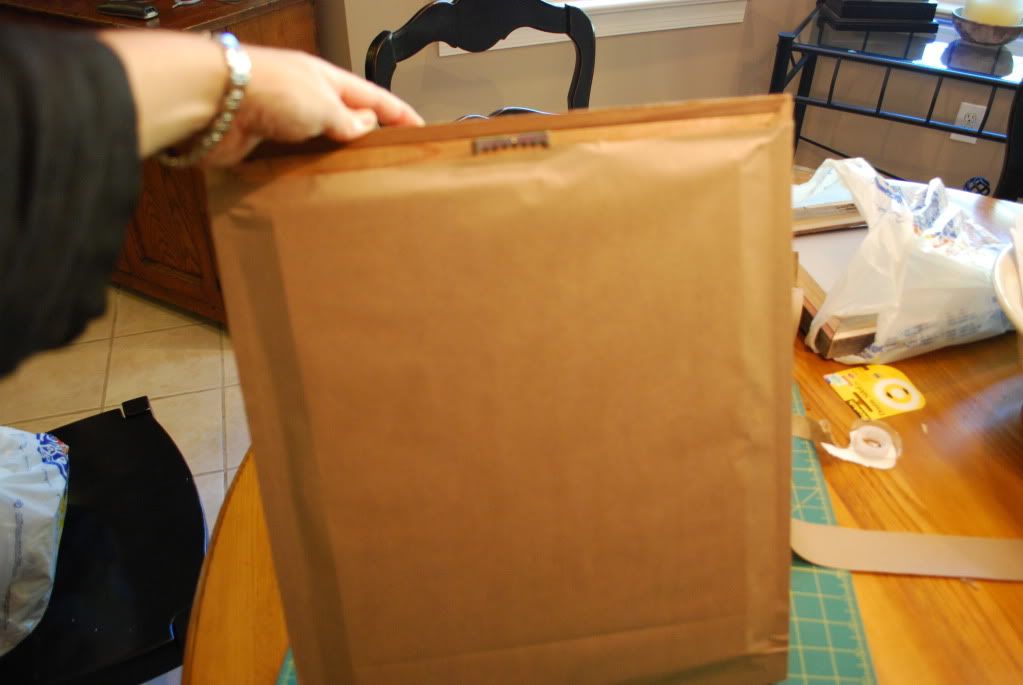
Finish the back of the frame.  Place double stick tape on the outside edges of the frame.

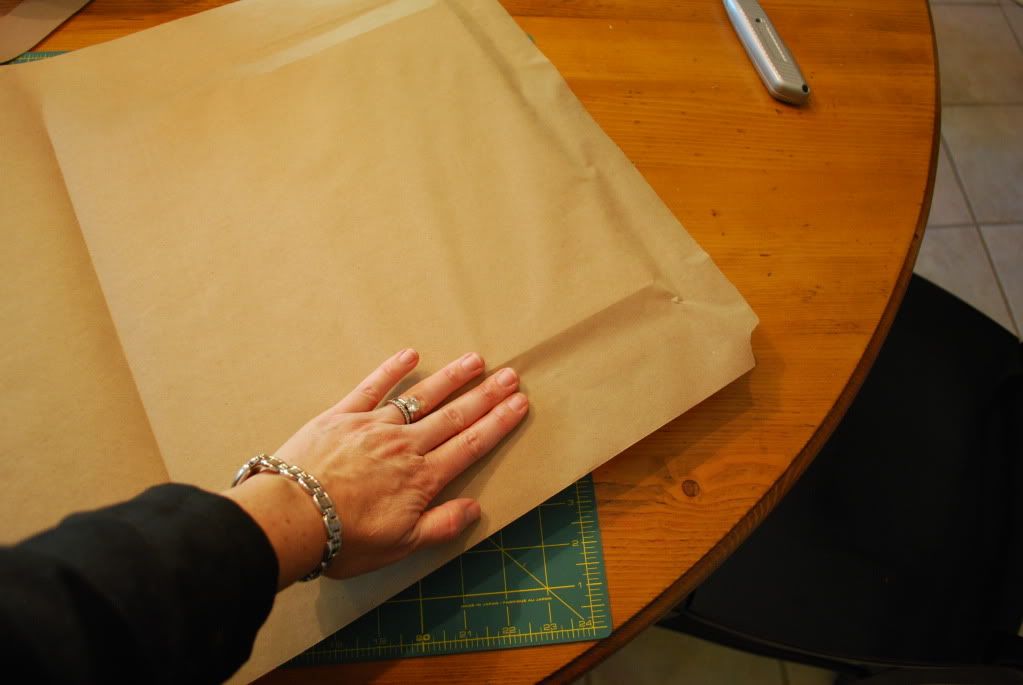
 Roll the paper over the frame.


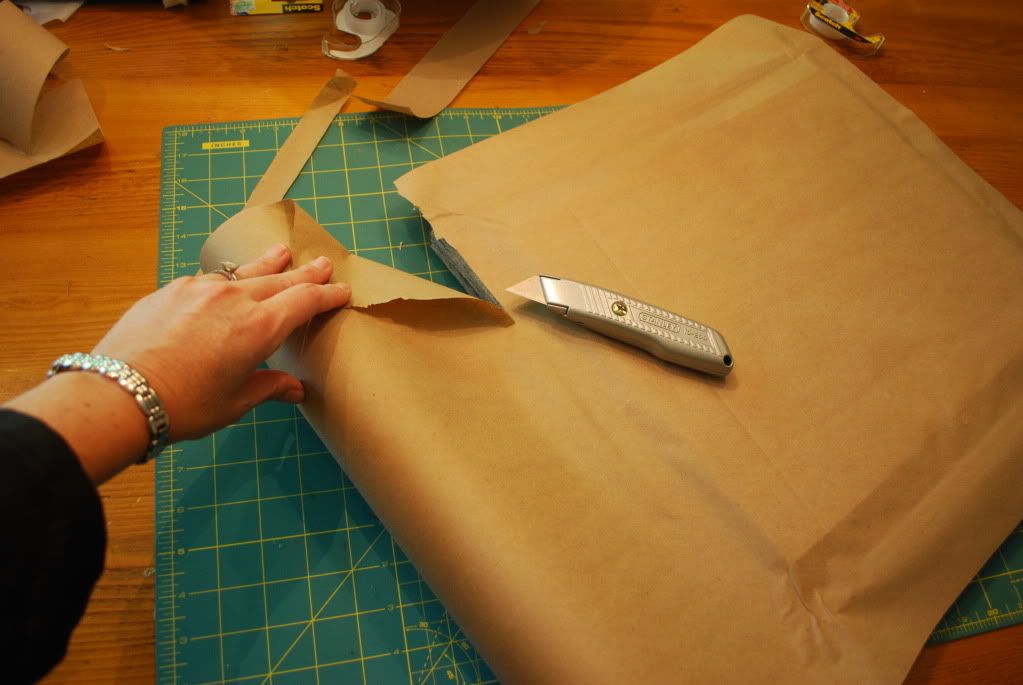
Using an exacto knife, cut away the excess paper.


Step Ten
Hang the grouping and enjoy.
Here are my tips for getting the perfect spacing when hanging a grouping, if you need a refresher - Proper Way to Hang a Grouping.


And that's it!  You get a huge wall of art for a fraction of the price.
I hope you will try this project.  It was so much easier than I expected.  The only thing you really need to remember is to be patient and wait for the glue to dry overnight and be meticulous in the spacing/gluing of the intaglios.  If you try this project, I would love to see your efforts!

And for those who are just not up for a DIY project, I did the work for you!
I am giving away this smaller framed set of two intaglios to one lucky reader.

This framed piece measures 11"x13" and includes two intaglios.


You could place it in a grouping with other artwork, on an easel in a bookshelf or over a side table next to a chair.  It's very versatile.

If you would like a chance to win this artwork . . .
Click Here to Enter The Giveaway


Good Luck and thank you again for following my blog! M.